As some of you know, I recently had hip surgery due to a torn labrum and damaged cartilage. I’ve been an athlete my whole life and have always had semi-tight hips. When I started my yoga practice, I went deep into working on hip openers. I honestly only worked on yoga poses for about 3 years, before putting strength exercises back into my routine. I was working so hard on just building flexibility that I stopped working on strength building and stability as much as I used to.
What I’ve learned is that hip stability is just as important as hip flexibility. The root of my torn labrum was never confirmed from just yoga or just sports, I believe is from years of playing sports and my body’s anatomy (I have funky hips per my x-rays). I am just wanting to help share some good insight, on what I’ve learned through my own personal journey with movement.
Overall finding a balance between flexibility & stability is crucial in your body’s health. The good thing is, if you’re already taking YAX yoga and HIIT classes, you are doing the best thing you can for your body!
Working on Hip Stability vs Hip Flexibility
When yogis talk hips, it’s generally about opening them. But your hips CAN be too open… Learn why balancing strength and flexibility in the hips is so important.
Hip strength is necessary in day-to-day life. Whether we are walking in the park, running for the bus, or cycling to work, the hip joint takes the brunt of the body’s weight and enables all of these fundamental actions. In short: Stable hips are a good thing—they carry our bodies throughout the day.
Understanding the Hip Joint
The hip joint is a ball and socket joint composed of two bones. The femur sits in the acetabulum, which is part of the pelvis. Covering the bones of the hip is the articular cartilage. The articular cartilage is important for providing a cushion and a smooth surface when the bones move on one another. Surrounding the acetabulum is additional cartilage called the labrum, which forms a lip around the cup-shaped bone to provide additional stability in the joint.
While it is helpful to understand the anatomy of the hip, what may be more even important (if a bit frightening) is knowing that one of the deepest layers of the joint, the cartilage, does not have any nerve endings. This means you may not be aware of any damage to the cartilage until it is too late. Although cartilage doesn’t have nerve endings, the surrounding muscles, tendons, and ligaments do, which is why yoga can be helpful for tuning into the body to find a balance between strength and flexibility for health of the muscles and the integrity of the joints. By listening to our bodies with this sense of mindfulness we can begin to notice our strengths and weaknesses, which enables us to develop a nourishing practice that our bodies truly need.
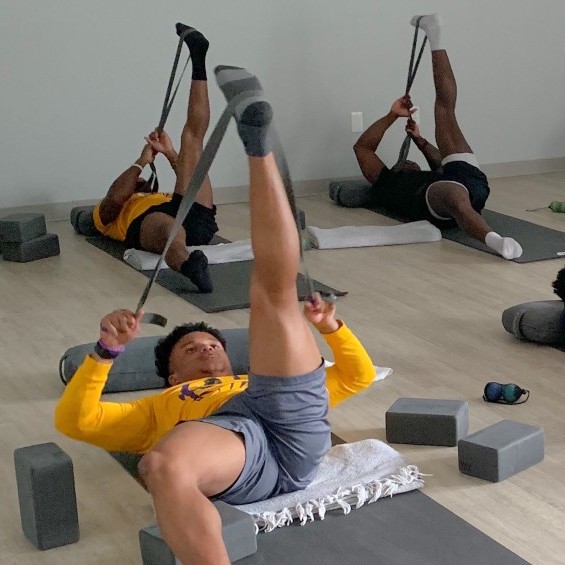
Most athletes, THAT’s US! have extremely tight hips. So, hip openers are a great thing for us! But with all of the hip openers we practice, we want to balance it out and always stabilize and protect our joints.
Poses to Build Stability in the Hips
Bridge Pose, variation
Lie on your back with your knees bent, feet hip-width apart and knees directly above your ankles. Place your arms on either side of your body with your palms facing down. Lengthen your tailbone toward the front of your mat. Lift one leg perpendicular to the floor (optional: bend knee). On your inhalation, keep your leg raised and lift your hips off the floor into a Bridge position. On your exhalation, with your leg still raised, lower your hips again. Repeat the exercise for 5 rounds of breath on each side.
Chair Pose, variation
For this exercise, hold Chair Pose with your feet hip-width apart. As you inhale, straighten one leg to the side and as your exhale bring it back to its original position. Repeat the exercise on each side 10 times or until the hip-stabilizing muscles start to fatigue.
Leg Raises
For this final exercise, lie on your side and rest your head on your arm. Bend your bottom leg to approximately 90 degrees so you have a steady base. Raise your top leg about a foot above the ground. Extend your lifted leg in a straight line from your spine and flex the foot. Hold for 10 breaths and relax the leg for 5 breaths. Repeat the exercise for 3 rounds on each side.
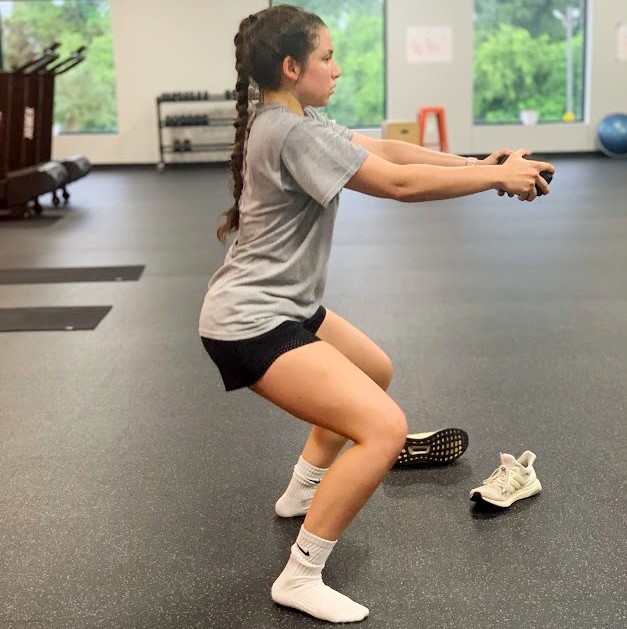
Deep Squat
This exercise sequence increases your core and hip stability and mobility. The movement takes your hips and legs in a full, deep squat and retrains your nervous system to activate your core and hips to generate stability in movement. It also functions as a warm-up before training and competition.
Stand with your feet shoulder-distance apart and your toes pointing forward in front of a step or a similar platform that you can put your hands on. Raise your arms above your head, and bend forward to place your palms on the platform. Lower your hips into a deep squat while keeping your spine tall and chest high. Hold the position for a few deep breaths.
Then raise your arms above your head, and push yourself up, keeping your spine in the same position without bending forward. If you have trouble doing the squat pattern, place a rolled-up beach towel under your heels for support. As you become proficient with the movement pattern and improve your posture, remove the heel support.
Hip Flexors
Hip stability also depends on strong hip flexors. These muscles, like the psoas, are responsible for functions like helping you to step up onto a stool; or lift your leg from a lying-down position.
Kneel on your right knee on the floor. Place your left foot on the floor in front of you. Place your right hands on top of your left thigh. Make sure the left knee is stacked over top the left ankle. Hold your torso upright. Tuck your tailbone under to make a long spine and in order not the compress your lower back. Contract your glute muscles to allow the hip flexors to relax and extend.
Toe Taps
The toe tap is a much more controlled and equally, if not more, brutal stability exercise for the hip. For this drill, you need either a mini band or a barbell. With the mini band around the thighs or barbell on your back, put all your weight into one leg and bend the knee slightly. Then reach out with your other leg, leading with the heel, and tap the ground out to the side. The goal with this drill is to look like a robot. The leg that you are standing on shouldn’t move. It should be bent and stay bent the whole time. The leg that is tapping the ground should be tapping so lightly that you could touch an egg shell but not break it.
– Kalynn
On-Demand Yoga & HIIT Classes
If you’re looking to build more hip stability or mobility, check out our classes on YAX Online!
Not a YAX Online member yet? Sign up for a 7-day free trial!

STAY IN THE LOOP!
Subscribe to our free newsletter.
An FMS screen and corrective exercise will get you moving optimally.
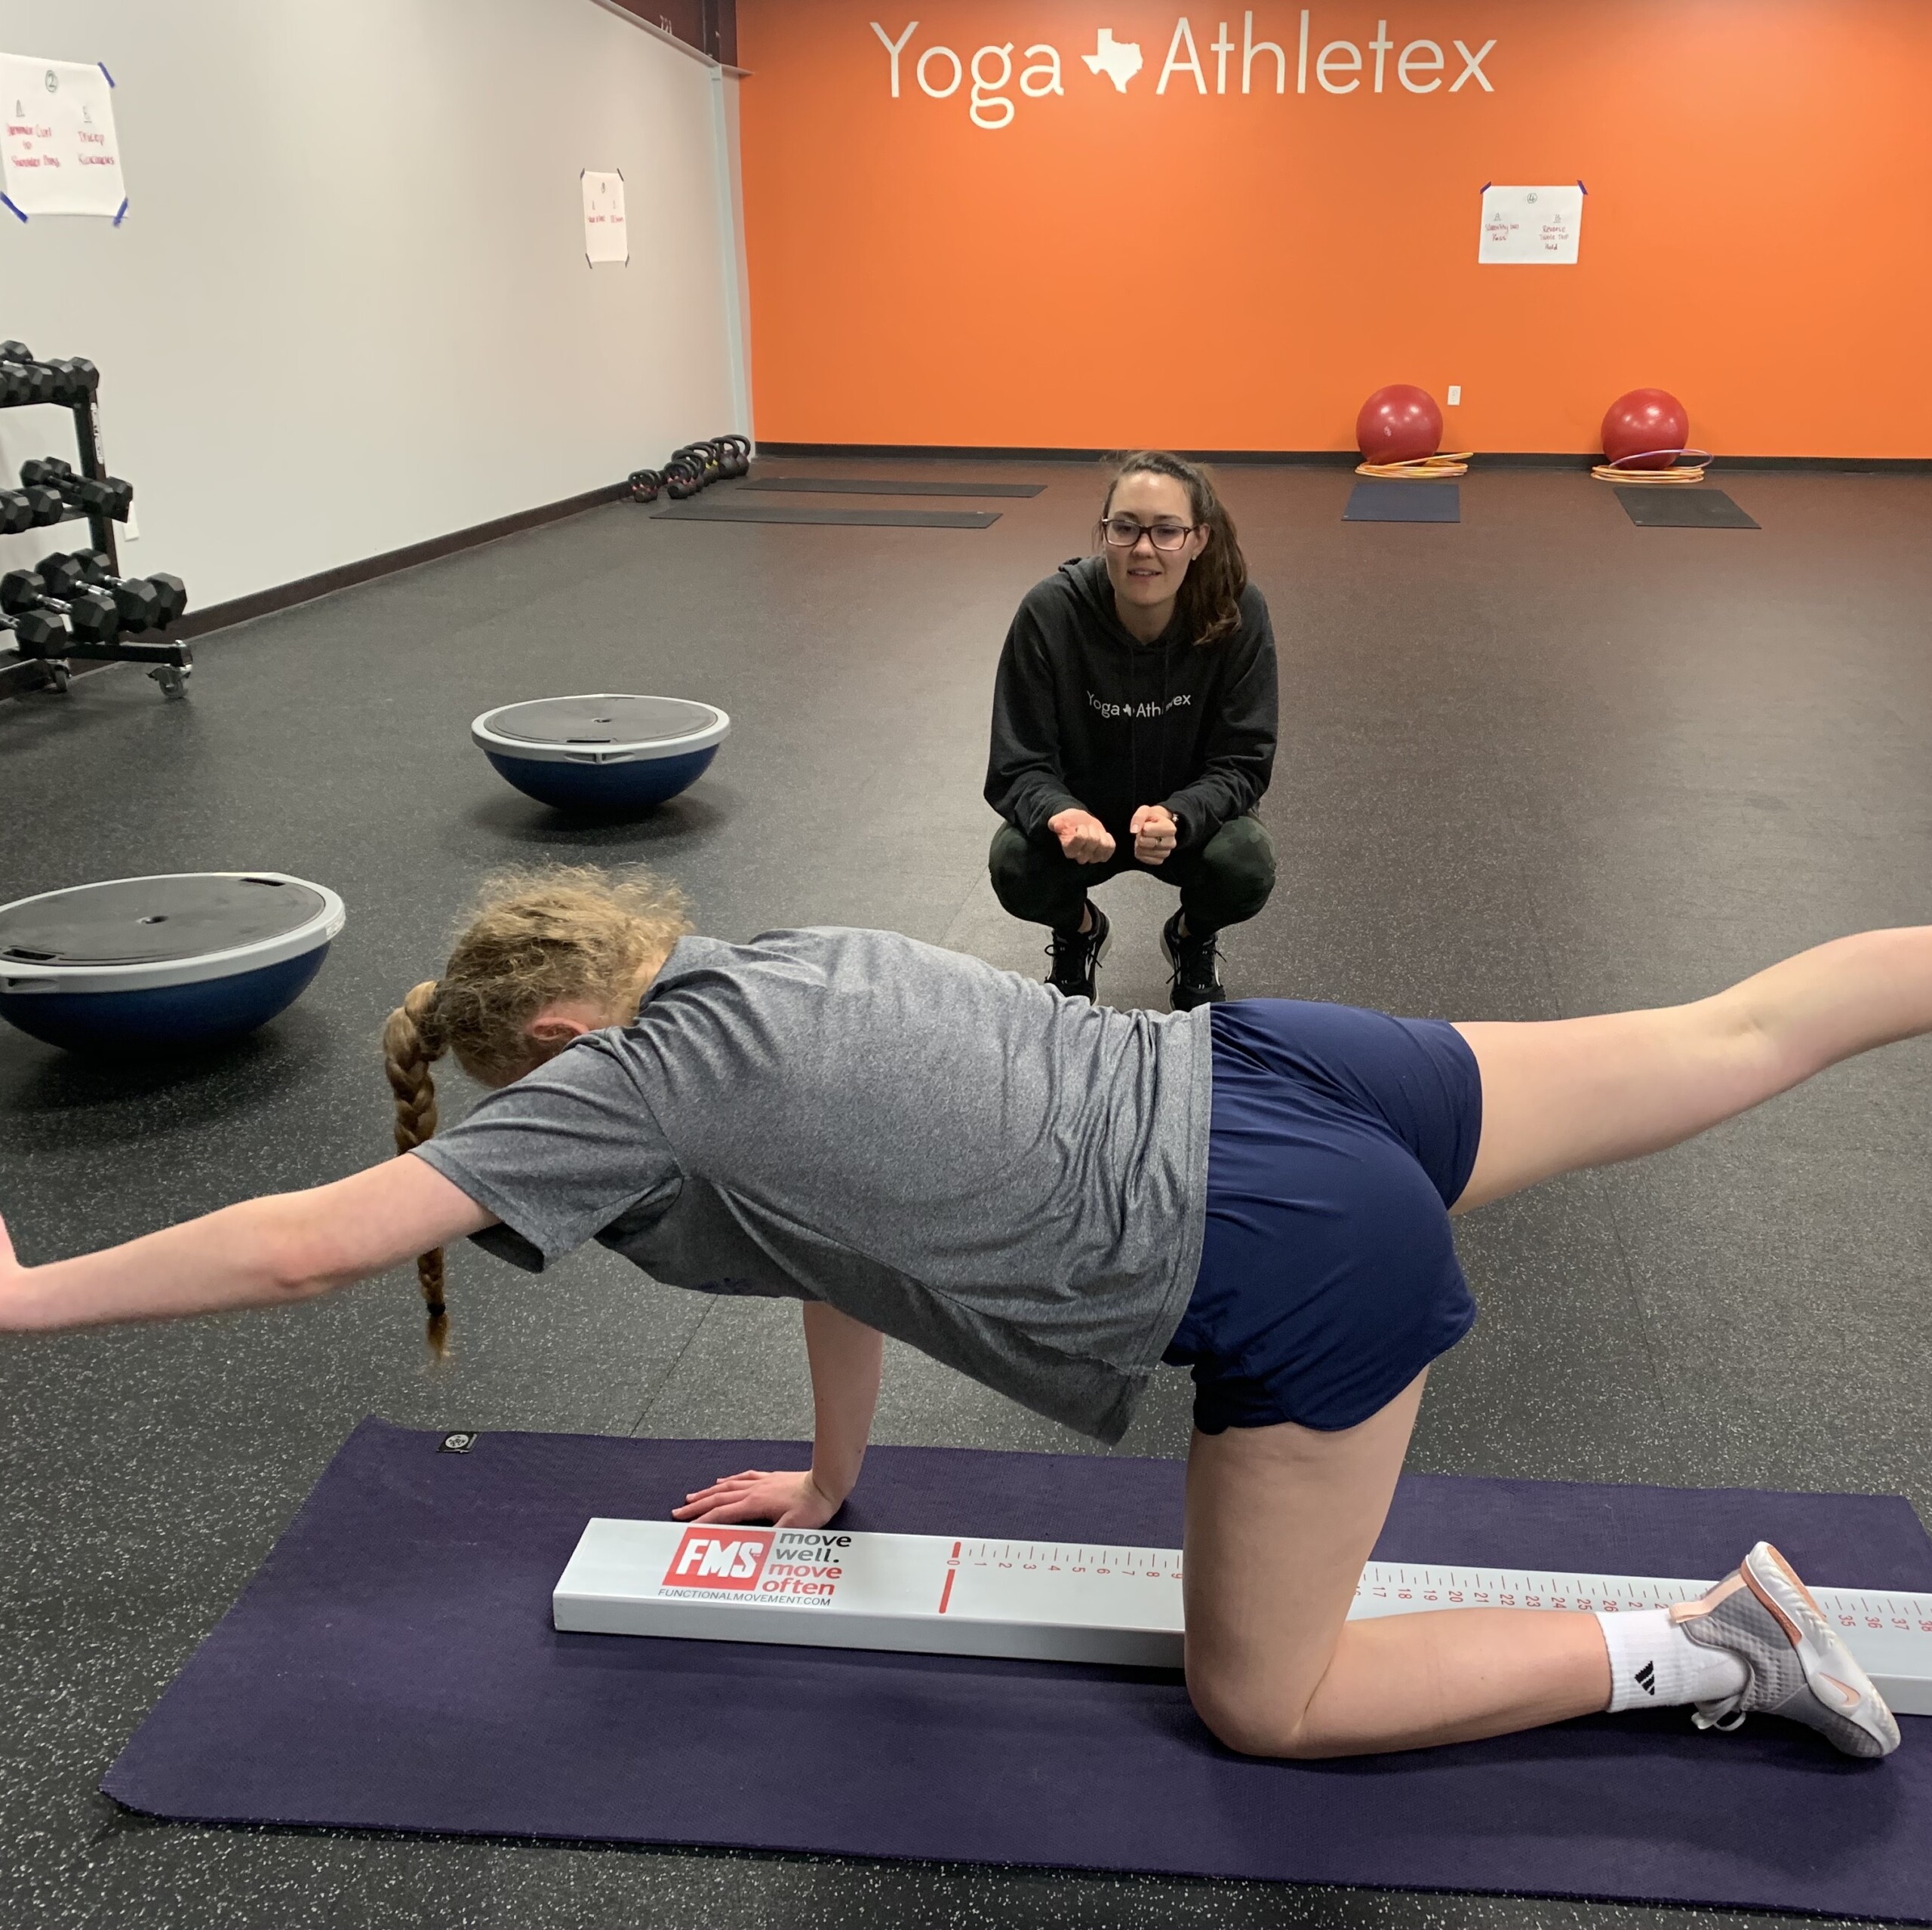
Find out if you're moving optimally or inadequately.

Prevent injury with a Functional Movement Screen and corrective exercise plan.