Foam rolling is a technique that is fully embraced by professional athletes and fitness fans that want to experience its almost instant benefits. These benefits one can experience are improved posture, performance and flexibility of fascia, a connective tissue present throughout our entire body. This technique focuses on pain believed to arise from myofascial tissues – the tough membranes that wrap, connect and support your muscles.
Most individuals have “trigger points” (sweet spot / knots) that are located where there is a natural tendency for higher amounts of tension or inflammation. Trigger points may also be a result from a single trauma to a muscle or from repetitive minor trauma over time (overworked). Theses areas which may be felt as “knots” are not getting the proper blood flow which means they are not getting essential nutrients and oxygen. In order for these areas to get the proper nutrients you should be rolling out the area(s) in which you are feeling tension for one to two minutes (where applicable).
It is important to not just focus on the “trigger point”. You should also be rolling out the areas around that trigger point because your fascias form a seam structure that is threaded throughout your entire body, so working on one area impacts the whole. It’s all interconnected. The speed that you should perform each roll is vital; it should be performed slowly! Rolling out any area(s) of tension should be done on a regular basis.
Below you will find a few rolling methods (for different muscle groups) you can perform on your own.
Foam Roller Exercises
Soleus & Gastrocnemius Roll
For the calf muscles. Place the foam roller down at the base of your ankle (roller should be perpendicular to your leg), extend your leg, and put the other leg on top so it applies downward pressure on your calf. Sit up straight with your hands just behind your hips and lift yourself up. Shift your body weight forward so that the roller rolls up towards the back of the knee but stop before getting to the knee joint. Make sure you go slowly to ensure the roller has time to do its job. When you have covered the length of your calf, reverse the process.
IT Band
Sit sideways on the roller and lean forward, bracing yourself with your arms. The leg being rolled should be extended straight back. Cross the non-rolling leg over, knee bent and planted on the floor. This may be the most painful of all the moves, but try to keep the roller moving very slowly so that you get a prolonged period of pressure against the muscle. When you get close to the bony section of the knee, change directions and repeat.
Piriformis
You can only roll one piriformis at a time. Sit on the roller with your weight only on your right buttock, your left leg slightly bent, arms planted behind you. Shift your weight forward until you feel the roller get close to your hipbone. Then shift your weight back until you feel the roller get to the crease where your leg and buttock meet. Repeat other side if needed.
Rectus Femoris of Quadriceps Group
For the quads and hip flexor. Start by lying over the foam roller with pressure on the front of your thigh just below your hipbone. First, roll backwards (this movement is generated by your arms and chest) so that the roller moves up toward your hip until it stops touching muscle and feels like it is only touching your hip/pelvic bone. Now switch directions (roll forward) so the roller travels slowly down your quadriceps until you are just slightly above your kneecap. Switch direction again and repeat.
Erector Spinae
Get into position with your buttock on the floor and your knees bent. Place the roller behind your shoulders (but not against your neck). Cross your arms across your chest. This not only get them out of the way, but also get your scapula out of the way for when the roller passes over it. Lift your hips up then slowly lengthen your legs so that the roller moves down the length of your back until it gets close to your buttock. You may get all the way down, but remember being slow and controlled is more important than the distance at this stage. Roll back in the other direction going slowly and even pausing over any particular “trigger points”.
Want more mobility work?
We have 20 videos that focus on mobility available on-demand!
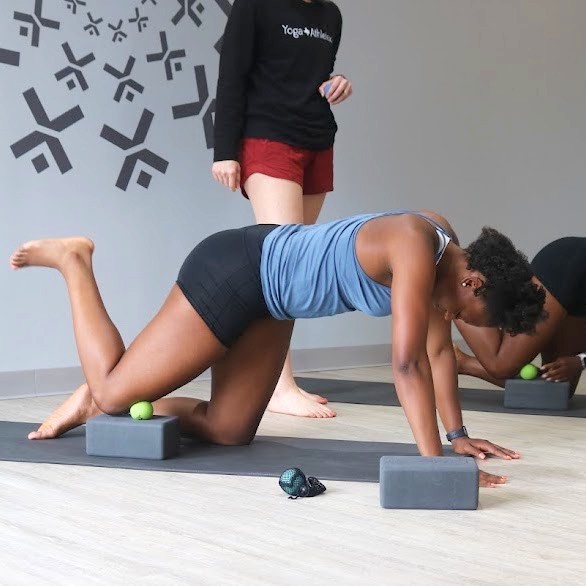
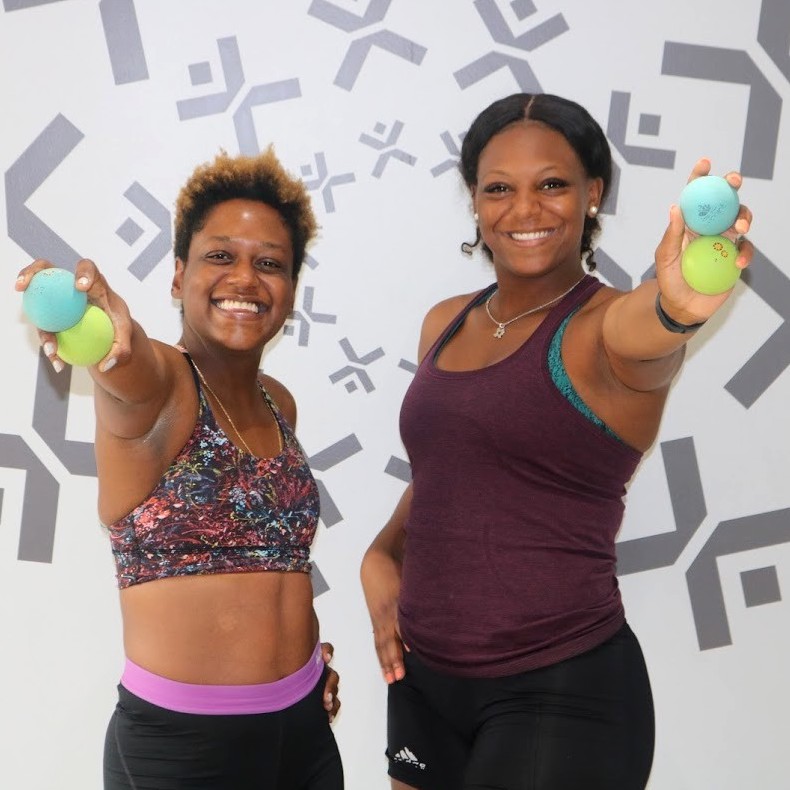
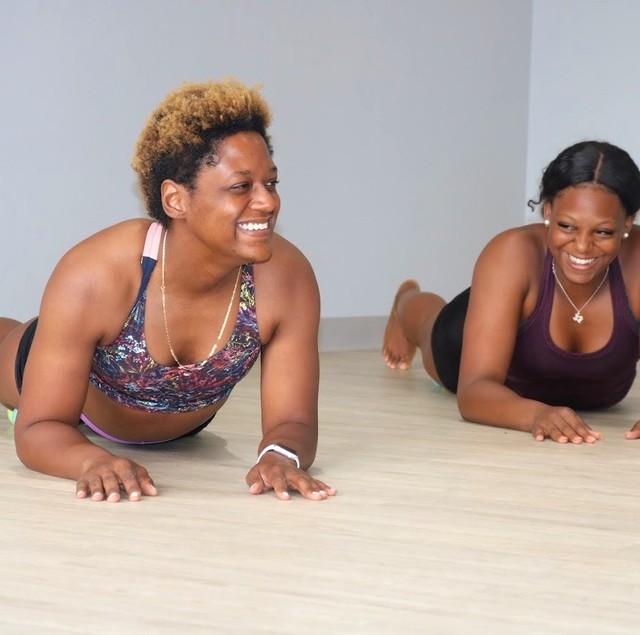
These videos provide athletes a therapeutic practice with self myofascial release (SMR). Some yoga poses may be incorporated to increase joint range of motion (ROM), but the main focus will be on techniques using therapy balls.
These videos are an excellent supplement to any athlete’s training program, acting as a deep tissue massage and soft tissue manipulation.
Our goal is help athletes to restore optimal muscle movement and function as well as produce positive, feel-good results.
Not a YAX Online member yet? Sign up for a 7-day free trial!

STAY IN THE LOOP!
Subscribe to our free newsletter.
Self-myofascial release (SMR) is an excellent therapeutic practice that can be added to any athlete’s training program.

Yoga can be used as corrective exercise to improve sport-specific imbalances and prevent injury.